Print iron-on transfers
Guidelines
•
When printing a mirror image, the text and the pictures are horizontally reversed from
what is displayed on the computer screen.
•
Do not exceed the paper tray capacity: 10 iron-on transfers.
Print iron-on transfers
37
Print ot
her doc
ume
n
ts

Prepare to print
1.
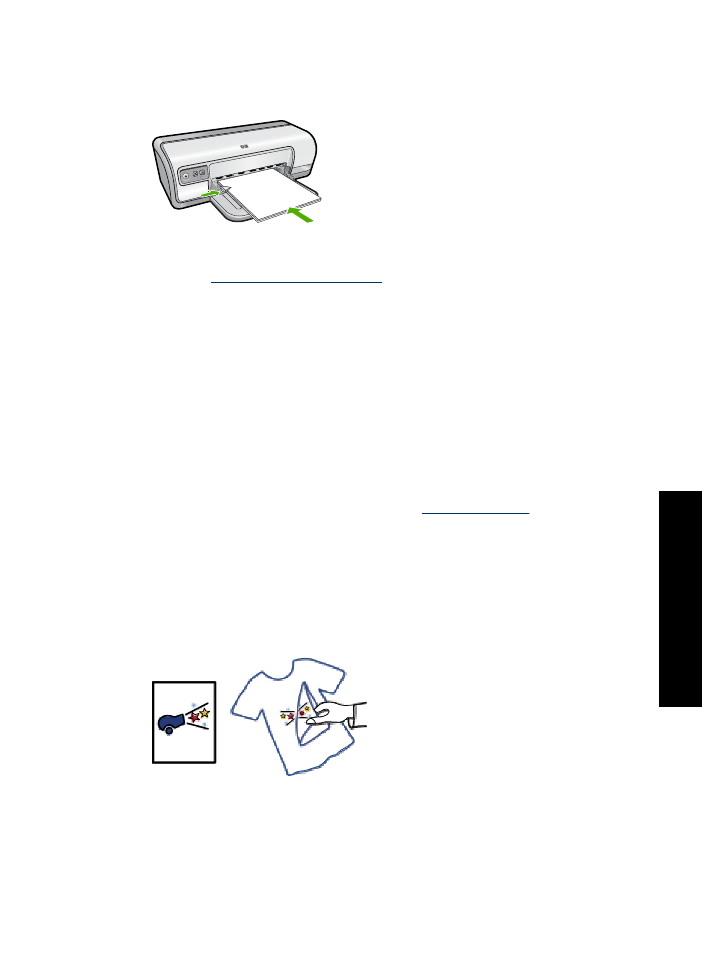
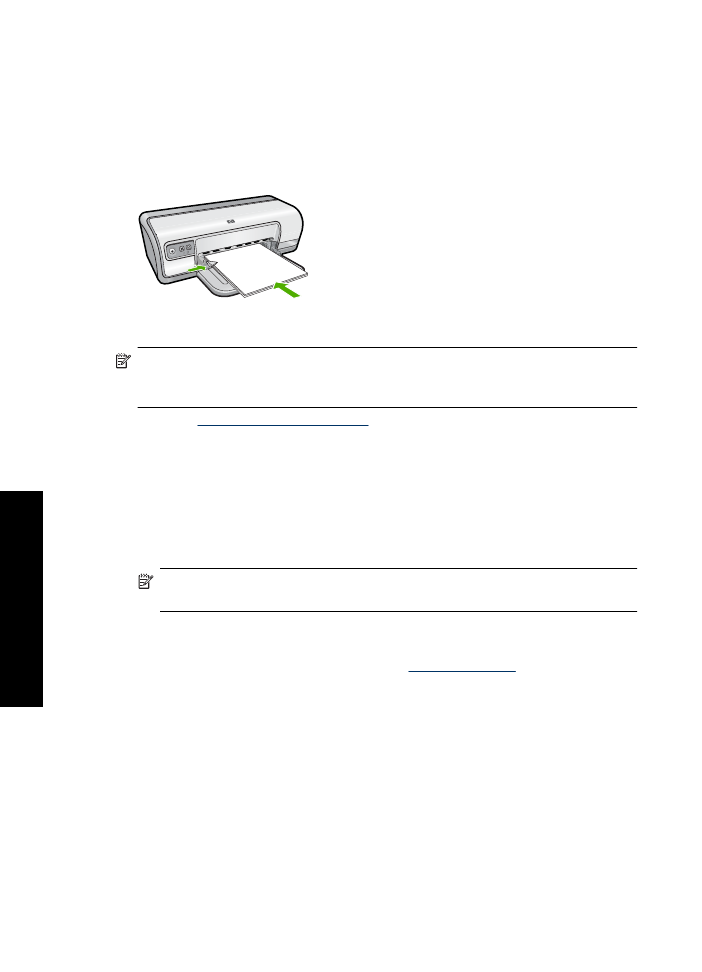
Slide the paper guide all the way to the left.
2.
Place the iron-on transfer paper in the right side of the tray. The side to be printed on
should face down.
3.
Push the paper into the printer until it stops.
4.
Slide the paper guide firmly against the edge of the paper.
NOTE:
If your software program includes an iron-on transfer printing feature, follow
the instructions that are provided with the software program. Otherwise, follow the
instructions below.
1.
Open the
Printer Properties dialog box
.
2.
Click the
Features
tab, and then specify the following print settings:
•
Print Quality
:
Normal
or
Best
•
Paper Type
: Click
More
, click
Specialty Papers
, and then click
Other specialty
paper
.
•
Size
: An appropriate paper size
3.
Click the
Advanced
tab.
4.
Click
Printer Features
, and then set
Mirror Image
to
On
.
NOTE:
Some iron-on transfer software programs do not require you to print a
mirror image.
5.
Select any other print settings that you want, and then click
OK
.
Use the
What's This?
help to learn about the features that appear in the Printer
Properties dialog box. For more information, see
What's This? help
.
Chapter 6
38
Print other documents
oth
er
d
o
cum
ent
s

7